Preparing a picture for the Exhibition
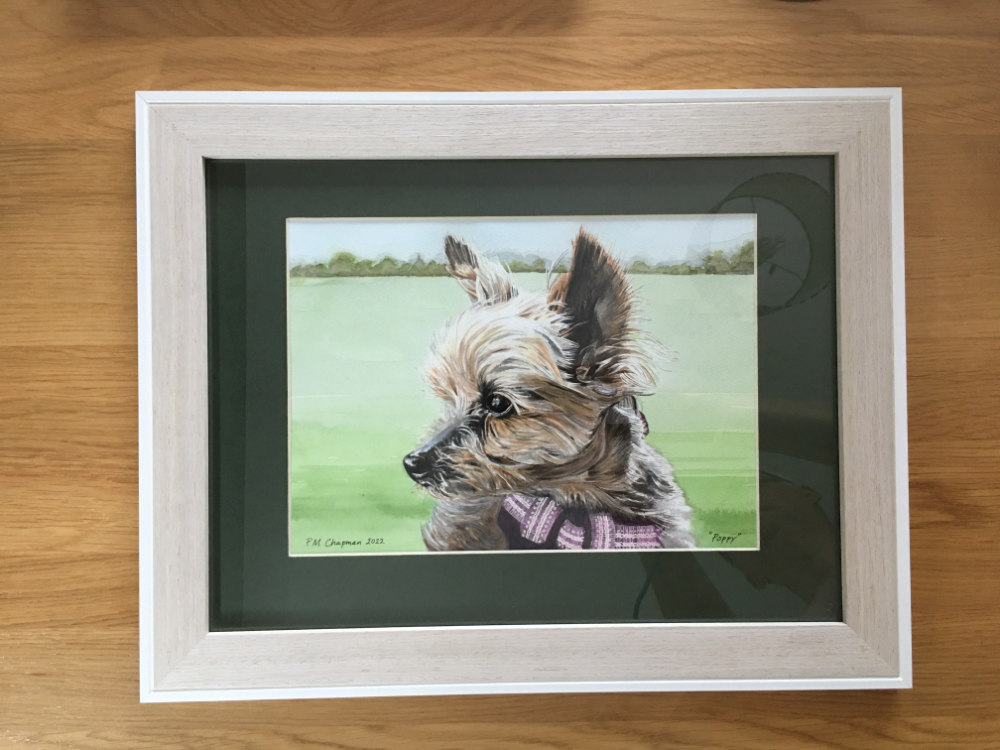
1 – So, you have framed your picture! Please make sure it is to a good standard, suitable for exhibition.

2 – The neatness and security of the back is important too! Seal the picture backing to the frame with framing tape.
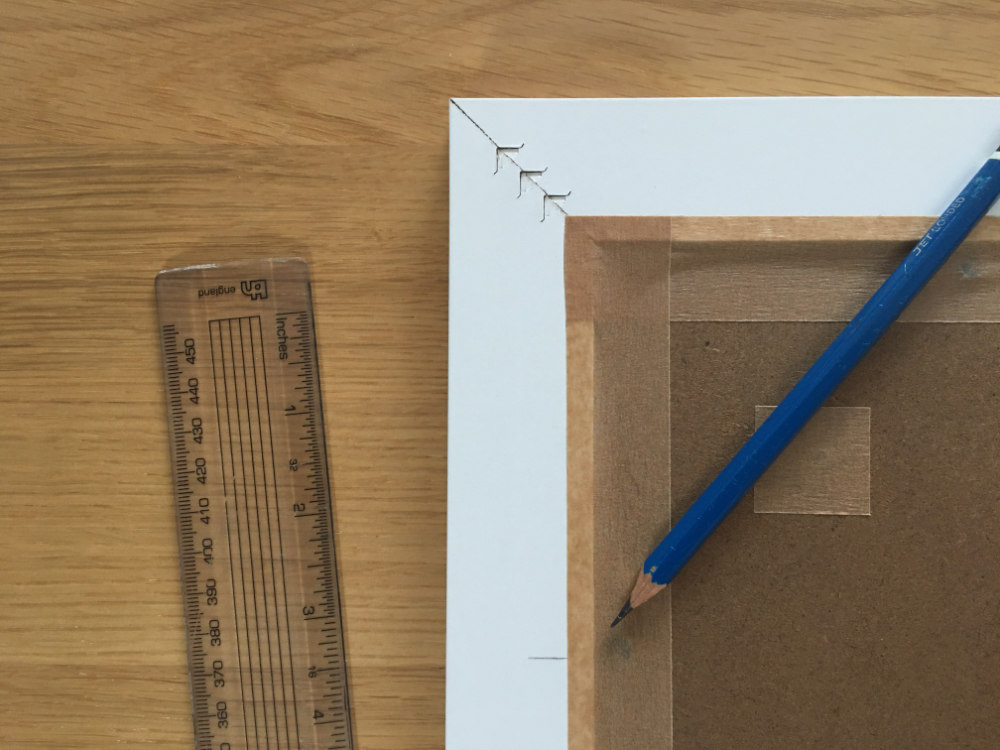
3 – Next, make a mark about one third distance down the sides of your frame. Make sure you keep clear of the edges.
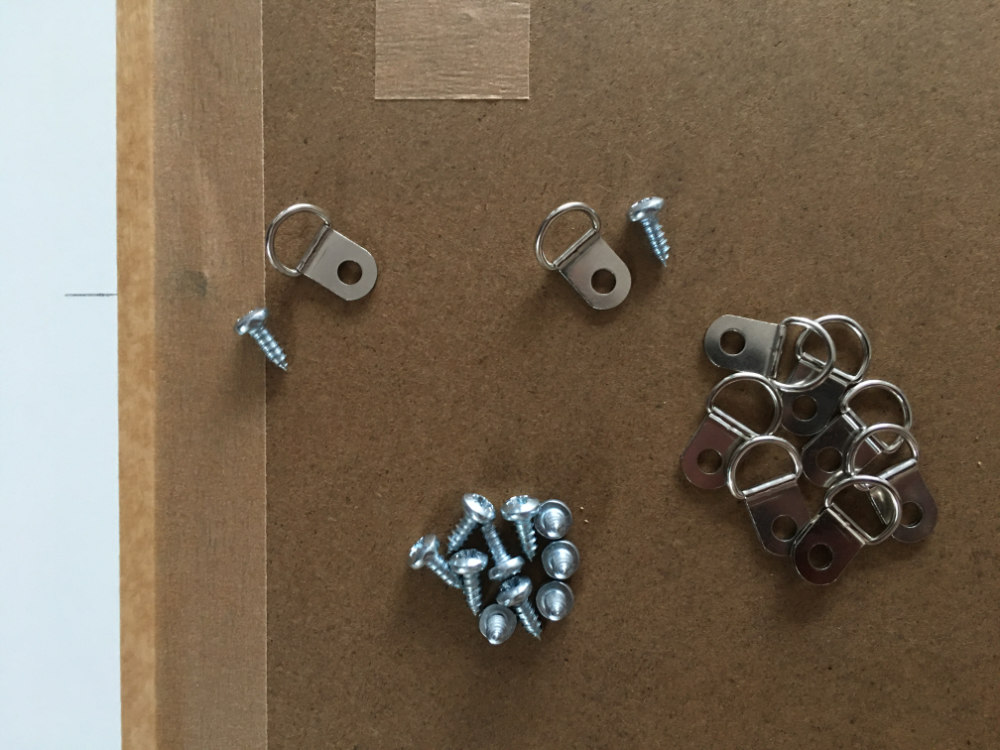
4 – These are ‘D’ Rings and MUST be used for attaching your picture cord / wire to the back of your picture.
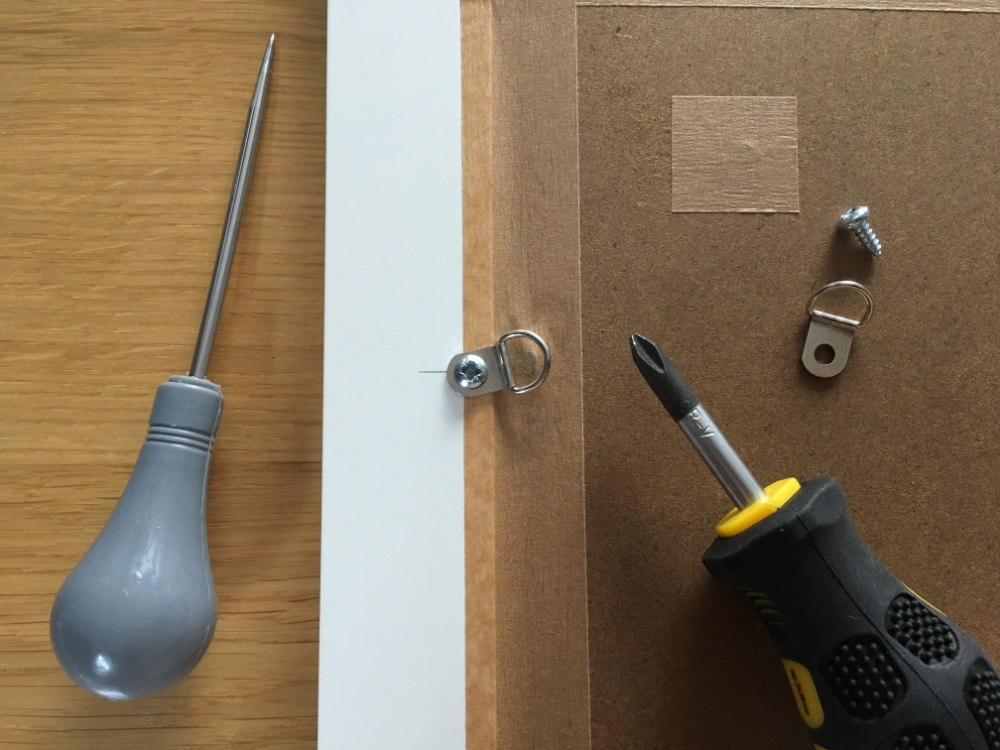
5 – Make a small hole to take the screw. Check frame is deep enough to take the screws. Fix the ‘D’ Rings to frame.
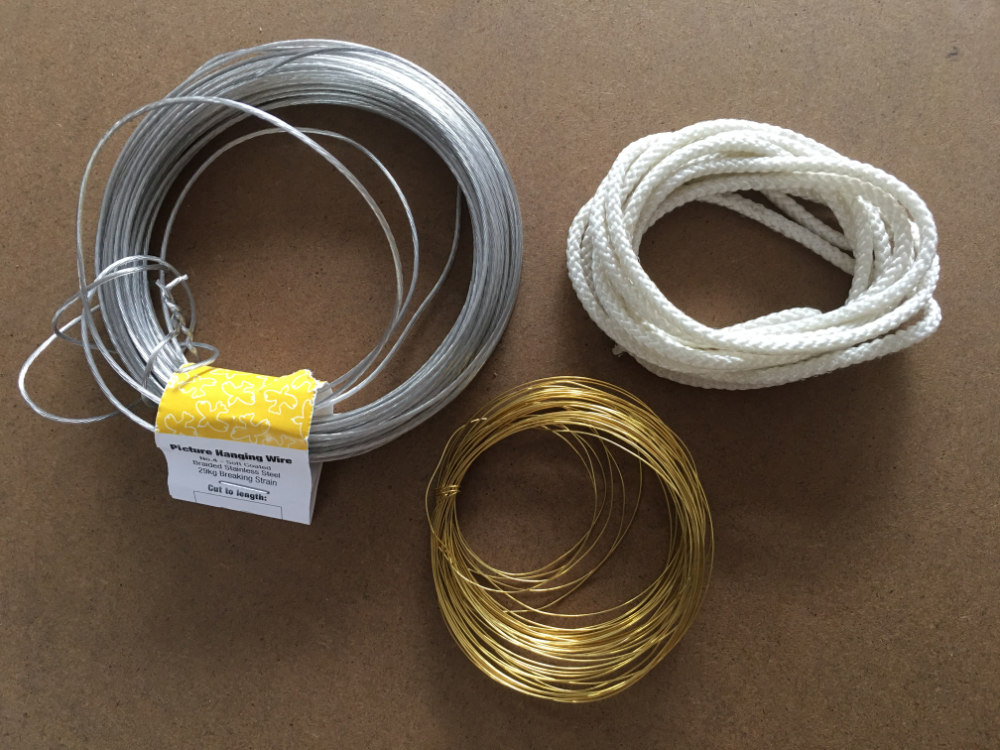
6 – You can use plastic-coated wire, brass wire or traditional picture cord. Don’t use household string!
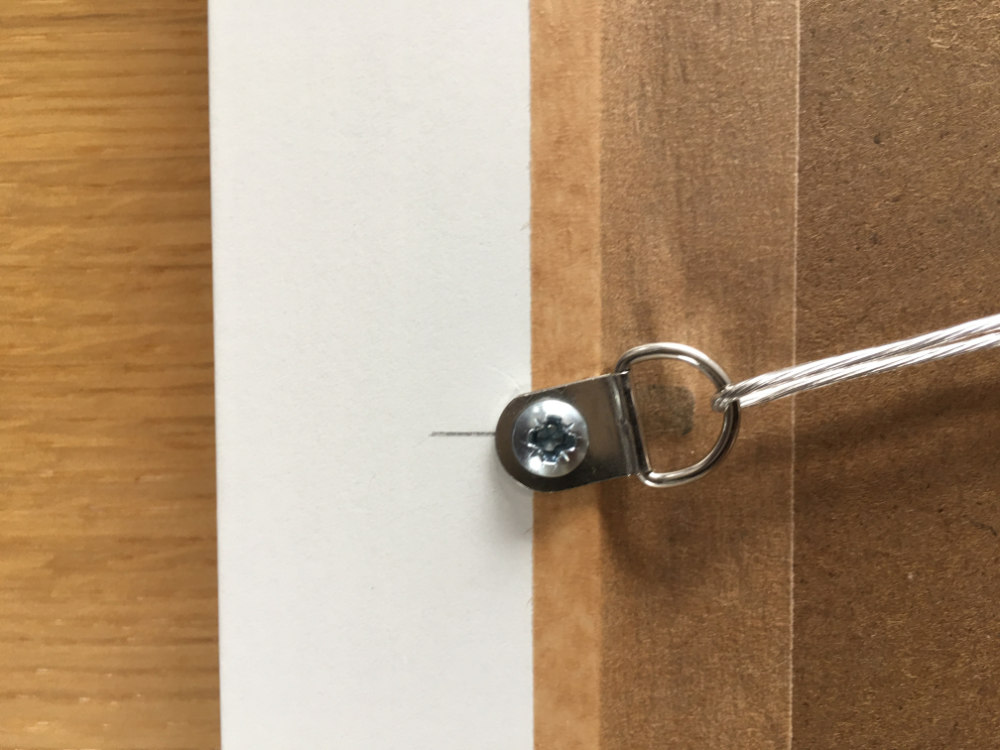
7 – Feed the Cord / Wire through both ‘D’ Ring fittings and secure the ends, making sure the ends cannot work loose. Tip: Secure ends off-centre, so the centre of the cord / wire is left clear to hang over the hook.
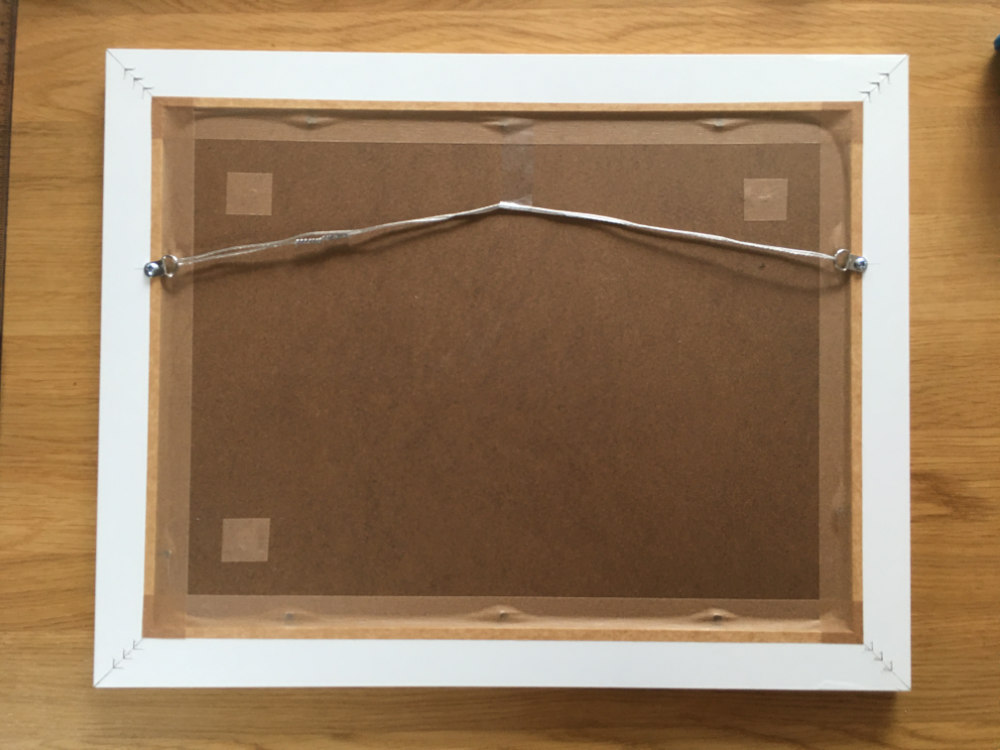
8 – The Cord / Wire should be fairly taut, however it should have a little allowance, so that the cord / wire can flex over the hook. This lessons any lateral movement, so the picture stays level. (The cord / wire should never appear above the top of frame.)
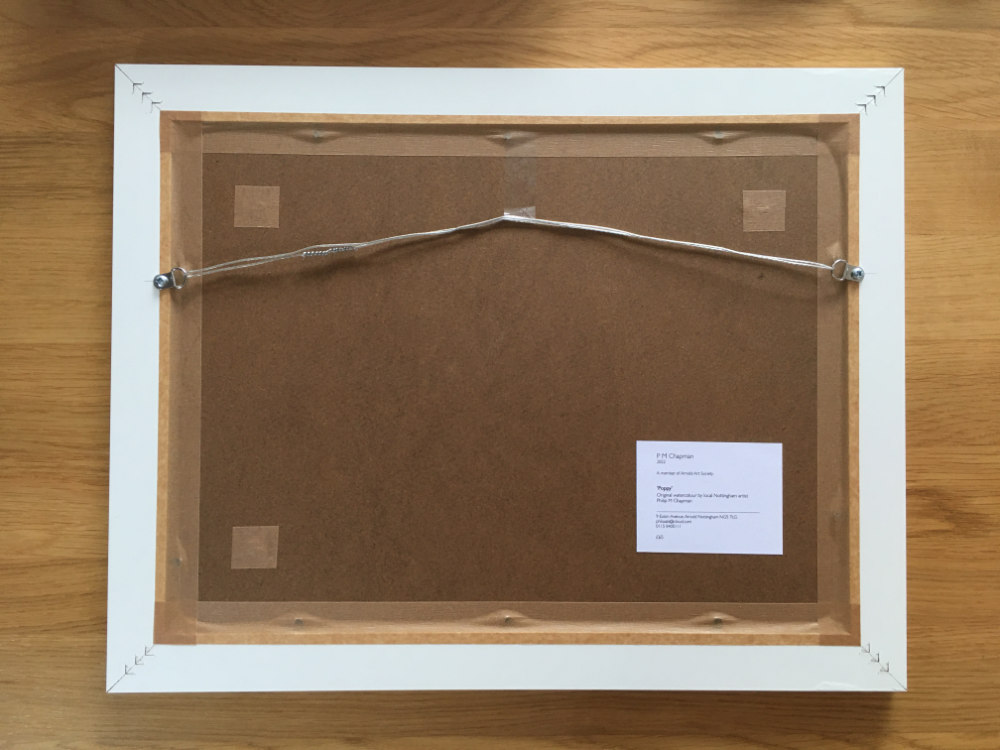
9 – Your picture MUST be LABELLED. Place the label, ideally in the bottom right-hand corner, so it is not obscured.
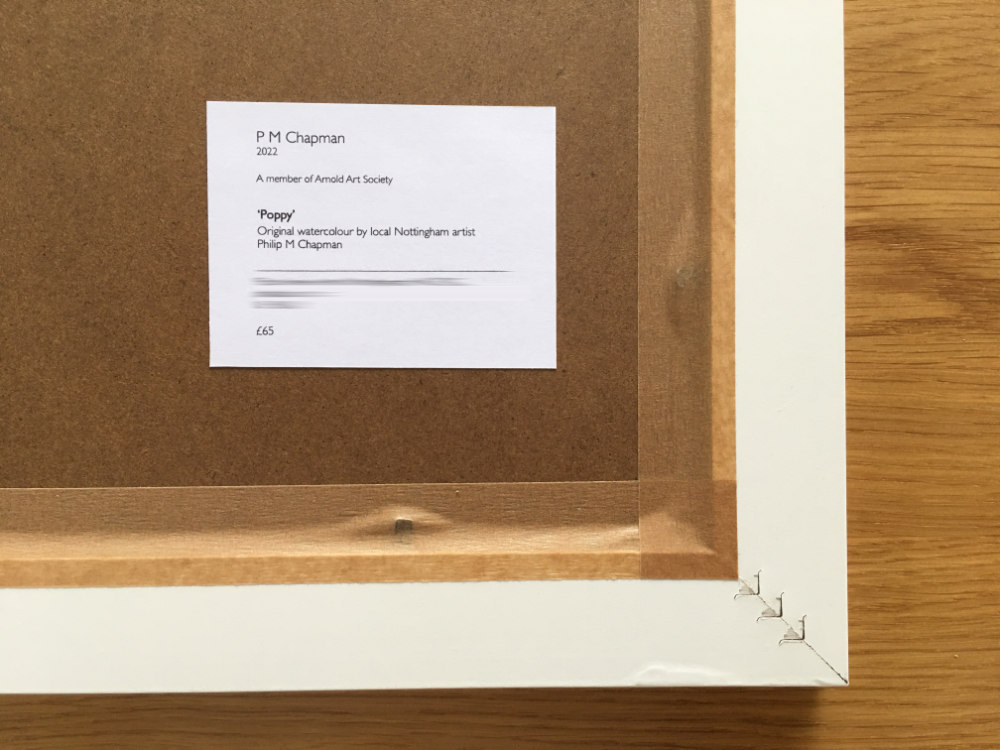
10 – Label MUST state: Title, Medium, Price. Your Name, Address, Telephone Number and Email (if you have one!)
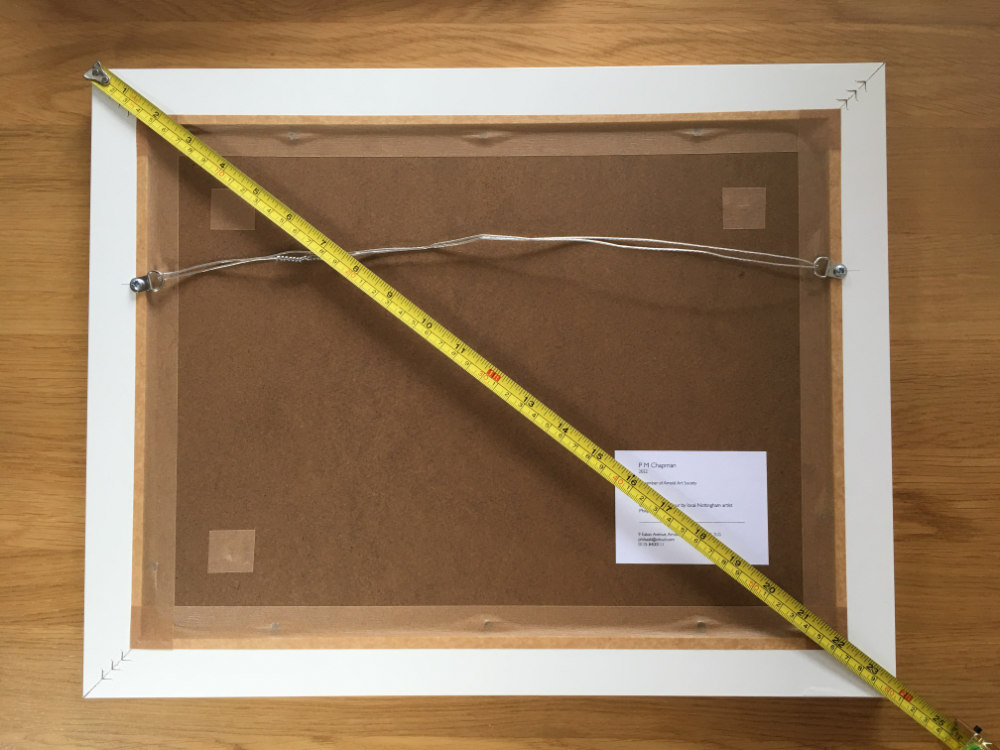
11 – Measure the picture frame DIAGONALLY, in Centimetres (CM). This should not be more than 70cm. Total up ALL measurements, for pictures entered in the exhibition. This MUST NOT EXCEDE 420cm in total!
12 – REMEMBER – You MUST use ‘D’ Rings on the back of your picture. (If you need some, contact Phil Chapman, who can sell you what you require.) Get these well in advance of the Exhibition!
Author: Phil Chapman AAS